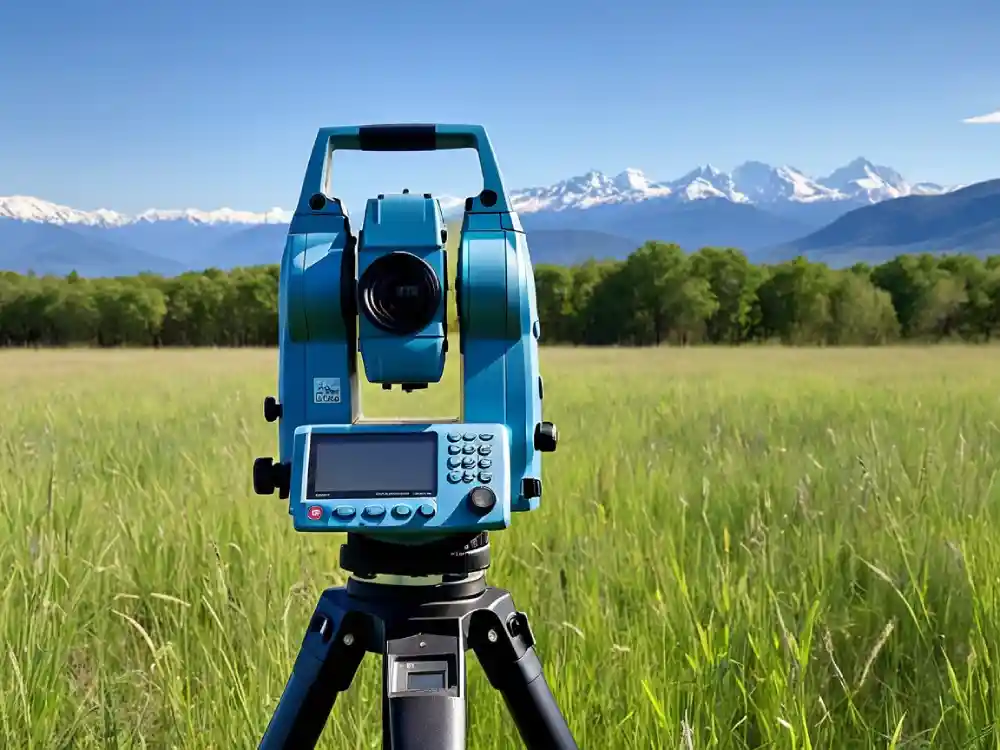
If you’re a beginner in the world of land surveying, learning how to set up a total station is one of the most critical skills to master. A total station is an essential instrument that combines electronic distance measurement (EDM) and angular measurement to provide accurate data for mapping, construction, and land assessment projects. In this guide, we will walk you through the step-by-step process to set up aSurveying Instrument correctly. By the end of this article, you will have the confidence to handle this essential surveying tool with ease.
Table of Contents
What is a Total Station?

A Surveying Instrument is a modern surveying instrument used to measure angles, distances, and coordinates. It integrates an electronic theodolite with an EDM and a microprocessor for data storage and calculation. Total stations are widely used in construction, engineering, and land surveying to ensure precise measurements.
Key features include:
- Angular measurement (horizontal and vertical)
- Distance measurement using laser or infrared technology
- Coordinate calculation for accurate mapping
Tools Required for Surveying Instrument Setup
Before starting, make sure you have the following tools and accessories ready:
- Total Station: The main device you’ll be setting up.
- Tripod: Stability requires a strong tripod.
- Plumb Bob or Laser Plummet: For centering the instrument over a specific point.
- Leveling Tools: Built-in leveling screws and bubble levels.
- Prism or Reflector: Used to reflect the laser for distance measurement.
- Field Book and Pen: To record measurements and notes.
Step-by-Step Guide to Setting Up a Total Station
Step 1: Select and Prepare the Survey Point
- Choose a location with a clear line of sight to all points you plan to measure.
- Ensure the ground is firm and level to avoid instability during measurements.
- Mark the survey point using a marker, peg, or nail to identify the exact location.
Step 2: Set Up the Tripod
- Extend the tripod legs evenly and secure them in the ground so that the tripod head is roughly level.
- Position the tripod directly over the survey point using a plumb bob or laser plummet.
- Adjust the tripod height to a comfortable working level, ensuring the head is horizontal.
Step 3: Mount the Total Station
- Place the Surveying Instrument on the tripod head and secure it using the locking screw.
- Check that the instrument is stable and firmly attached.
Step 4: Level the Total Station

- Use the built-in bubble levels to ensure the instrument is perfectly level.
- Adjust the leveling screws systematically:
- First, level the bubble along one axis using two screws.
- Then, level the bubble along the perpendicular axis using the third screw.
- Confirm that the circular bubble is centered for overall leveling.
Step 5: Center the Instrument Over the Survey Point
- Use the optical or laser plummet to align the instrument directly over the survey point.
- Adjust the tripod legs or leveling screws to center the plummet while maintaining the instrument’s level.
Step 6: Power On the Total Station
- Turn on the instrument and check that all systems are functioning.
- Configure the settings for units, angle measurement, and coordinate system as per your project requirements.
Step 7: Conduct Calibration Checks
- Perform a quick calibration to ensure the Surveying Instrument is functioning accurately:
- Collimation Test: Verify that the horizontal and vertical crosshairs align correctly.
- Distance Measurement Test: Test the EDM by measuring a known distance.
Step 8: Measure the Reference Points
- Rotate the telescope to focus on the first reference point.
- Lock the instrument’s horizontal and vertical angles.
- Measure the distance and record the data in your field book or device.
Step 9: Record Data and Begin Surveying

- Once the setup is complete, you can start measuring and recording data for your project.
- Use a prism or reflector at each target point to capture accurate readings.
Advanced Tips for Efficient Surveying
1. Using Coordinates and Grid Systems
Understanding and setting up grid systems within your Surveying Instrument is essential for larger projects. These systems help to organize data collection and ensure accuracy across multiple points.
- Choose a coordinate system relevant to your project (e.g., local, UTM).
- Input initial values manually or upload data from CAD software.
2. Data Integration with Software
Modern total stations often support Bluetooth or USB connections for real-time data integration with surveying software. This allows you to:
- Export collected data into GIS or CAD systems for further processing.
- Generate automated reports and visualizations.
3. Adjusting for Environmental Factors
Environmental conditions like temperature, humidity, and atmospheric pressure can affect readings. Ensure that:
- The EDM settings are adjusted for the prevailing weather.
- Regular tests are conducted to confirm consistency in results.
Pro Tips for Beginners
- Double-Check Leveling: An uneven setup can lead to significant errors in measurements.
- Practice in a Controlled Environment: Familiarize yourself with the instrument before heading to the field.
- Protect the Equipment: Use covers and cases to shield the Surveying Instrument from dust, rain, and damage.
- Use a Checklist: Create a checklist to ensure you don’t miss any step during setup.
- Review Measurements: Cross-check recorded data to identify and correct any discrepancies.
Common Mistakes to Avoid
- Skipping Leveling Checks: Failing to level the instrument properly can compromise your entire survey.
- Ignoring Calibration: Regular calibration ensures accuracy and reliability.
- Overlooking Line of Sight: Ensure all target points are within the instrument’s line of sight to avoid errors.
- Rushing the Setup: Take your time to follow each step meticulously.
FAQs
Q1: How long does it take to set up a total station?
For beginners, it may take 20-30 minutes to set up a total station, including leveling and calibration. With practice, this time reduces to around 10-15 minutes.
Q2: Do I need special training to use a total station?
While formal training is not mandatory, attending workshops or practicing under supervision can significantly improve your skills and confidence.
Q3: Can I use a Surveying Instrument in bad weather?
Indeed, contemporary total stations are designed to endure severe weather. However, ensure you’re using a weather-resistant model and protect the instrument with covers.
Q4: What is the accuracy of a total station?
Total stations offer high accuracy, with angular measurements typically accurate to 1-5 seconds and distance measurements accurate to 1-2 mm over a kilometer.
Q5: What should I do if the instrument is not leveling correctly?
Check for loose tripod legs or uneven ground. Re-adjust the tripod and leveling screws, ensuring the bubble levels are centered before proceeding.
Conclusion
Setting up a Surveying Instrument may seem daunting at first, but with this step-by-step guide, beginners can quickly gain the confidence to handle the task. Remember, practice makes perfect, so invest time in mastering each step. With accurate setup and calibration, you’ll be well on your way to conducting successful surveys and delivering reliable results.
If you found this guide helpful, share it with fellow beginners and start your surveying journey with precision and confidence!
- Measurement Units for Length: A Complete Guide for Everyone - February 14, 2025
- LiDAR and Drones in Surveying: The Ultimate 2025 Guide - February 4, 2025
- “Ultimate RTK GPS 2025 How-to Guide: Step-by-Step Instructions” - January 26, 2025


[…] surveyor used a Total Station to measure distances in […]